
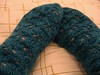
A couple of years ago we found an old shrug in our summer house. It was knitted, in a stitch pattern I couldn't dechiffer. But the construction was simple, just a tube, that opens in the central part. It was used and darned several places ( I should have shown you a photo, but at the moment, I don't find it). I have been wanting to make a new one, but was not sure what stitch pattern to use. I didn't necesarrily want the same as in the old one. And then, in a blog post by Woolly Wormhead, there it was,
star stitch, to be worked in the round and flat. (Later, she has published a hat pattern using this stitch pattern,
Star beanie.)

In Norwegian, we call this garment a "sjelevarmer ", or soul warmer. In English, I understand it's called a "
shrug" (not sure which word is more logical). I think I've seen somewhere that it's also called "soul warmer" in German.

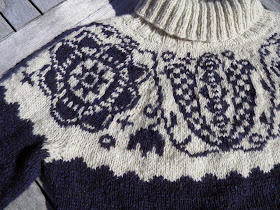
My shrug measures 106 cm, the sleeves beeing 26 cm long, and the back part 54 cm, sleeve circumference 31 cm.
I used Cascade Wool 220, left overs from my
Owls. It's a simple pattern, although the stitches are a bit time and yarn consuming. I used approximately two and a half skein, whereas for the Owls sweater I used three and a half.
This is how you do it:
Cast on 60 sts on needles 4 mm, working in the round. Garter sts for ten rounds. Increase 12 sts, then start the star stitch pattern.
1st round: *K1, make star; repeat from * to end of round.
2nd round: Knit 71 sts (the last sts of this round will be part of first star on next round.
3rd round: *make star, K1; repeat from * to * end with k2
4th round: Knit
5th round: K 1, *make star, k 1, repeat from * to * end with make star
Repeat rounds 2 -5 til sleeve is as long as you wish. End with round 2 or 4.
After dividing for back, you will do the star rows like this:
- k2 * make star, k 1 * till end of row, end with k 2
and
- k4 * make star, k 1* till end of row, end with k 4
This means you'll increase 1 sts in one side and 2 sts in the other side. I can't figure out how to explain this easily, but once you've got the hang of the pattern and get to that point, you'll see what I mean. The other rows will have to be purled, obviously.
When back is long enough (try it on as you go), you decrease these 3 sts and go back to working in the rounds. End with a knit round. Then knit another round while decreasing 12 sts, and end with a garter sts cuff as you started with.

Note on how to make the stars: I followed Wolly's tutorial, but had to look up the abbreviation yrn. I had some troubles getting this, because when I did what was explained, I ended up with a normal yarn over. But the stars turns out ok, I think. Maybe this has to do with me beeing a continental knitter? I don't know, but as long as the result is ok, I'm happy. So in my words, as star would be made like this: k3tog and leave sts on needle, yo, knit same 3 sts together again
Well, today you'd need to warm more than your soul - it's been minus 15 degrees below zero, and getting colder... But it's certainly beatiful:


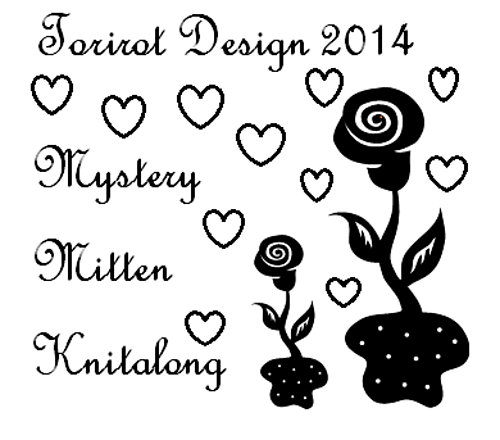
 So that was the dilemma, who to vote for? But I did vote for Anne. Her wristwarmes are beautiful and original. But maybe some of you will vote for me - you can see all the nominees here.
 It's my new mitten pattern, inspired by the


